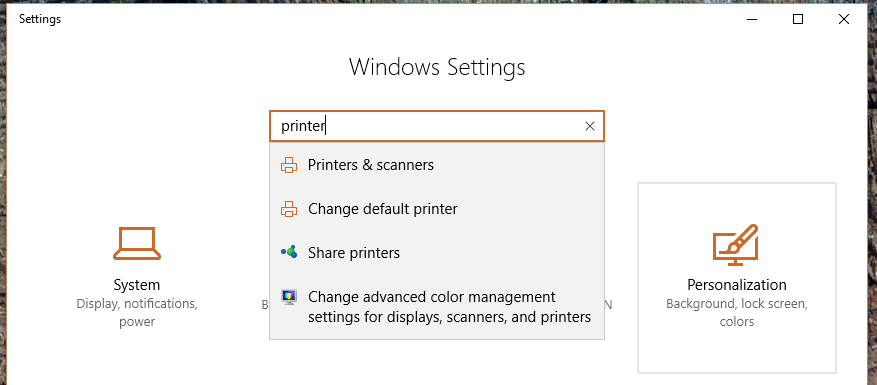
In the Settings window, type 'printer' to locate 'Printers and Scanners':
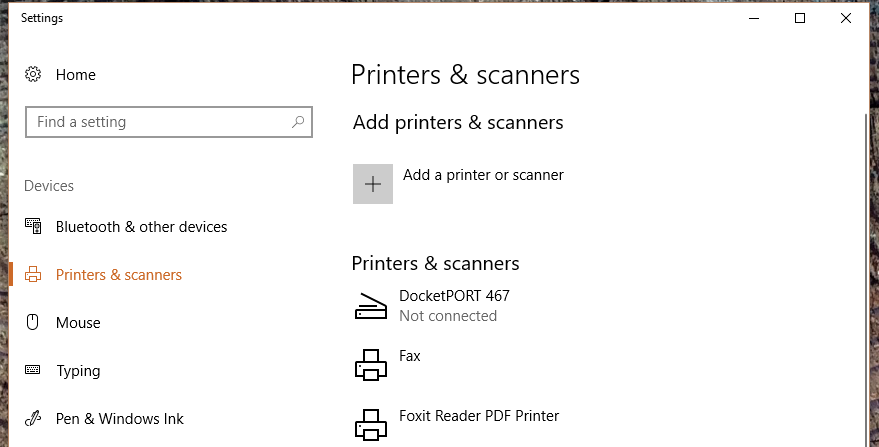
In Printers & scanners, click "Add a printer or scanner":
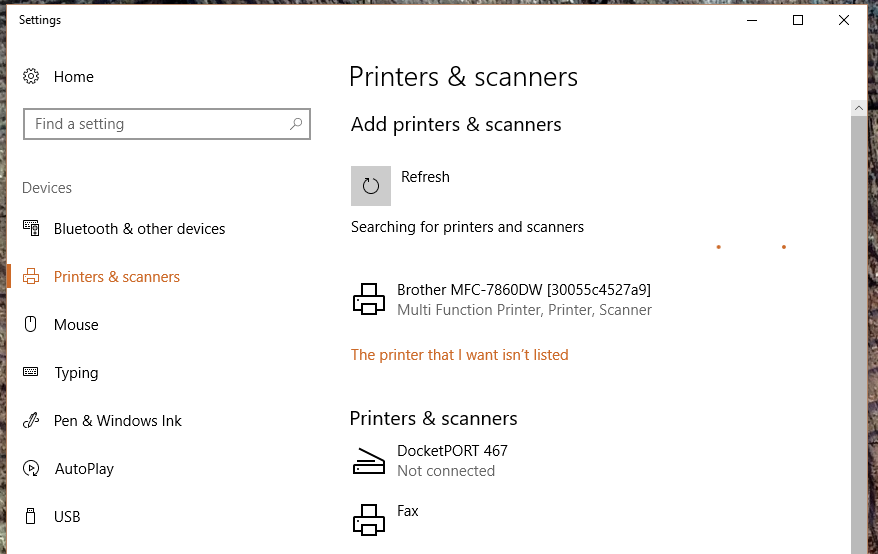
A window will pop up showing the search for printers.
When it finishes, you'll see this screen with "The printer that I want isn't listed"
Click that message.
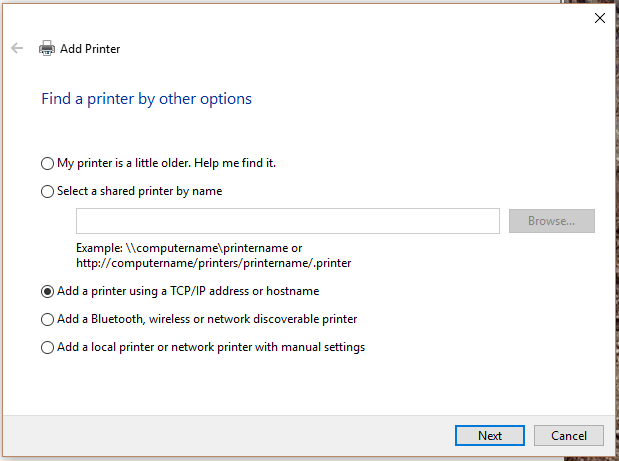
This window opens for "Find a printer by other options."
Click the button for "Add a printer using a TCP/IP address or hostname" then click Next.
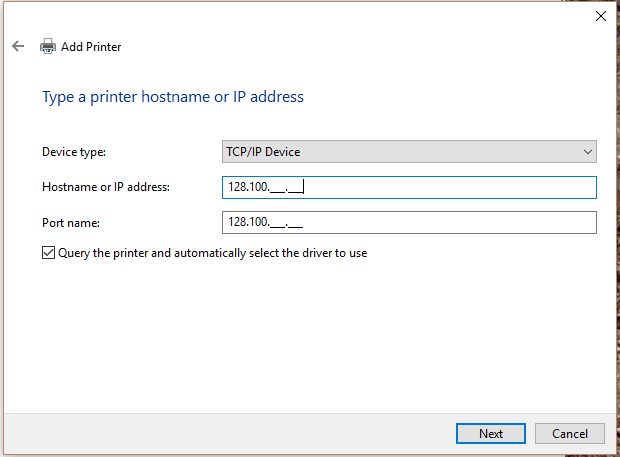
This window opens for "Type a printer hostname or IP address."
Click in the box for "hostname or IP address" and type the IP address of the printer you're adding.
(Type the actual IP address, not the text with underscores shown in my screen shot!)
Then click "Next"
Windows will attempt to contact the printer by that IP. If it fails:

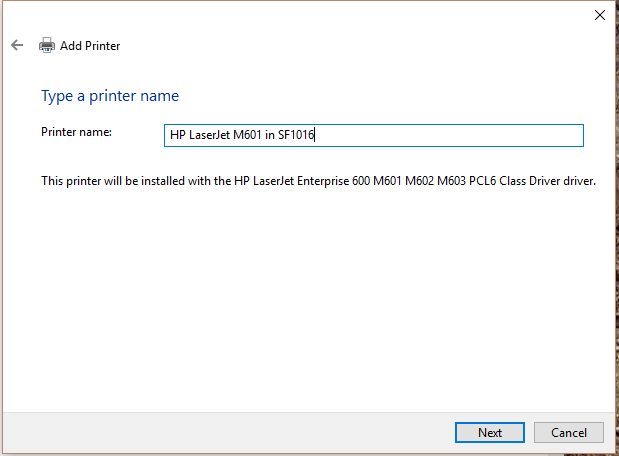
You can retype the printer name to the correct model number and room number (recommended!) then click Next.
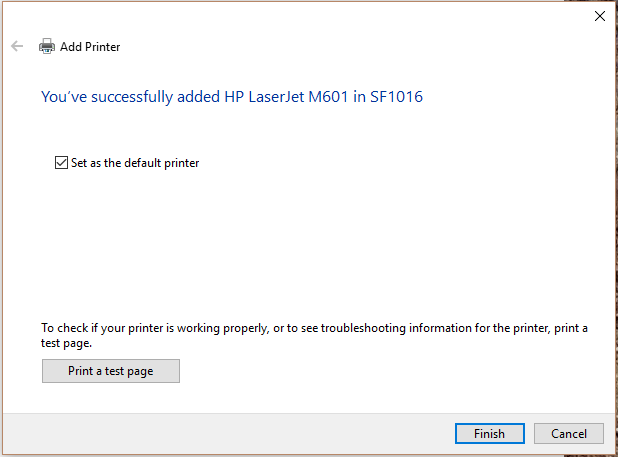
This window will open saying "You've successfully added ..." and the name you assigned.
If this will be your main printer, check the box for "Set as the default printer."
To confirm the setup, click "Print a test page"
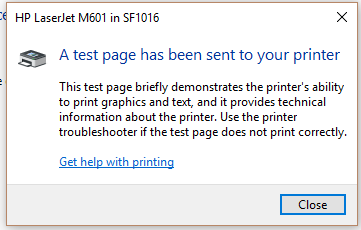
This window will appear showing that a test page was sent. Click "Close"
Then click Next in "You've successfully added" window.
Now you'll be back at Printers & Scanners, with the new printer in the list:
Click once on the entry for the new printer. It will expand to show three buttons:

Click "Manage"
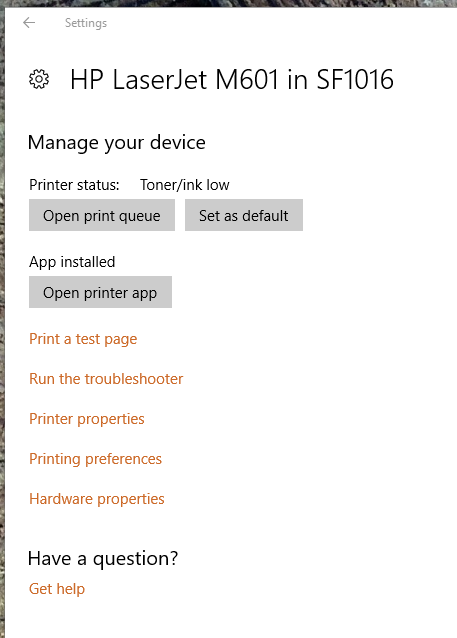
In "Manage your device", click "Printer Properties":
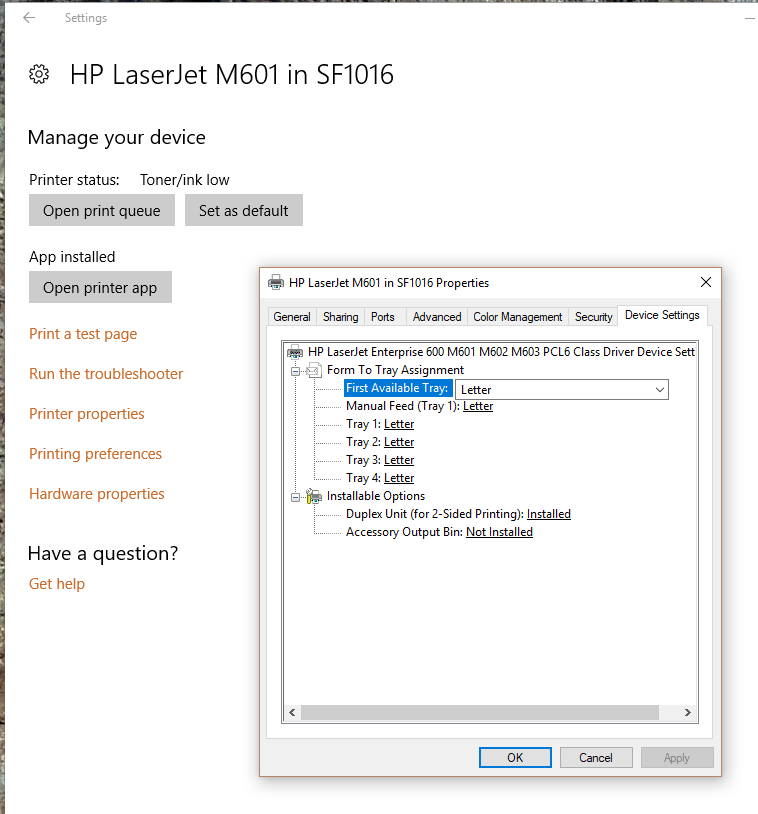
In the printer's Properties window, click the "Device Settings" tab
Find the option for "Duplex unit" and make sure it shows "Installed"
(If it shows "not installed", click on that text for a drop-down menu, then choose "Installed" and click "Apply")
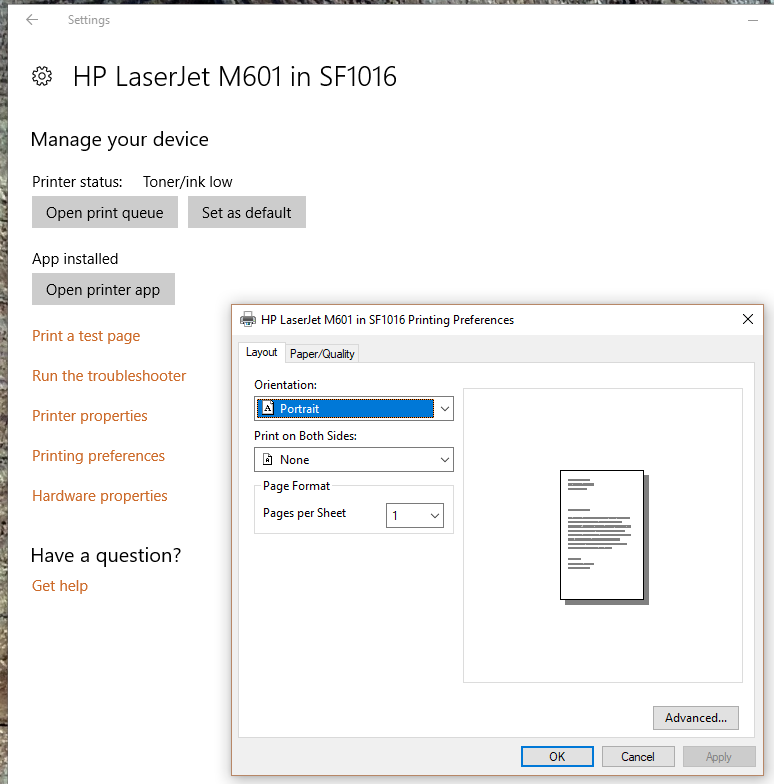
Close the printer properties window. Back in "Manage your device", click "Printing preferences"
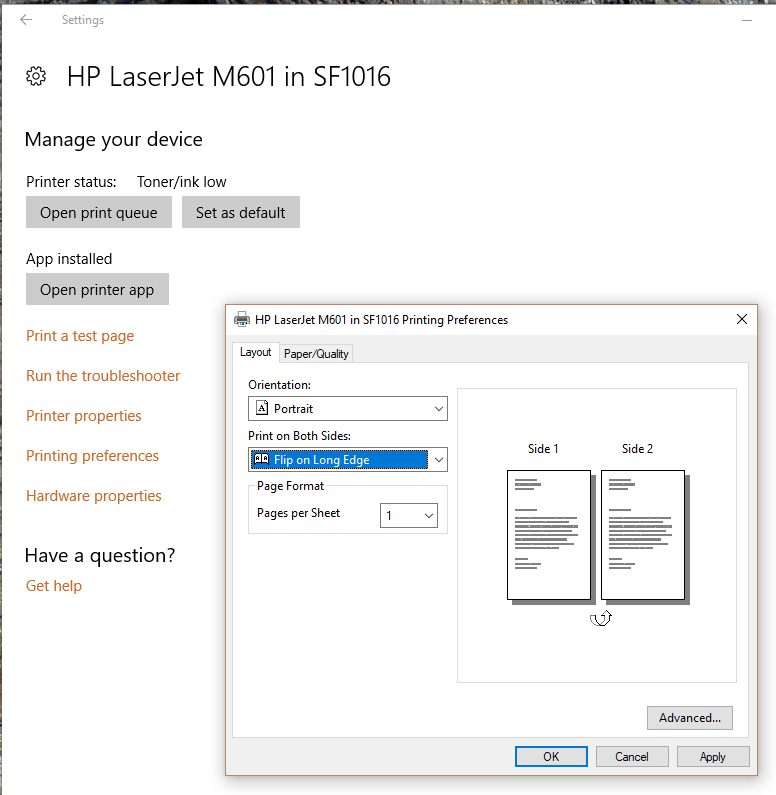
In Printing preferences, under "Print on Both Sides," click the triangle to open the drop-down menu, and choose "Flip on Long Edge" then click "Apply" to make this the default for all print jobs. (You can change this setting on a per-job basis in Page Setup; just make it the default so you won't need to choose this each time you print.)
Close the "Manage your device" window" then close "Printers and Scanners." You're now done.