How to add a printer via direct
TCP printing in Windows 7
If you have an ECE unix/linux account with printer access, please use that
instead. You can add the printer via its "Samba" print queue of the form
\\servername\lp###, e.g. \\alpha.comm.utoronto.ca\lp4000.
The following instructions are intended for printers not supported by ECEHELP as the user group are not ECE account holders.
In the Start menu, choose "Devices and Printers"
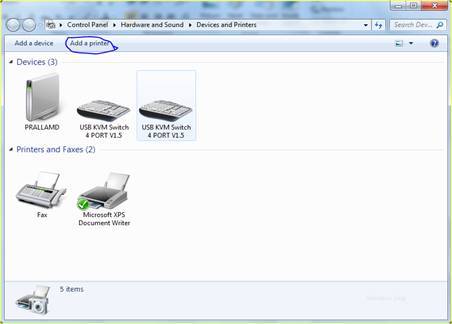
Click "Add a local printer"

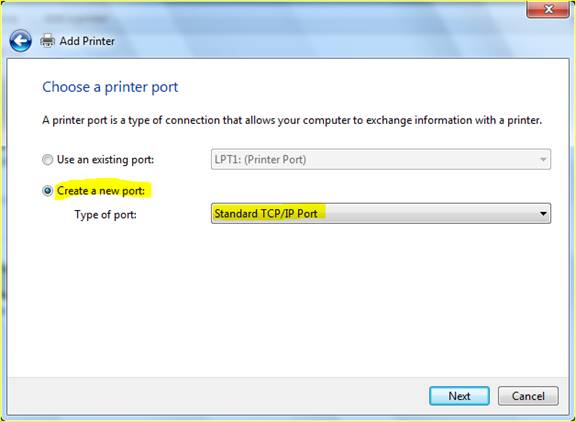
Click the "Create a new port" radio button, and in the "Type
of port:" drop-down menu, choose "Standard TCP/IP port"
Fill in the IP address of your printer:
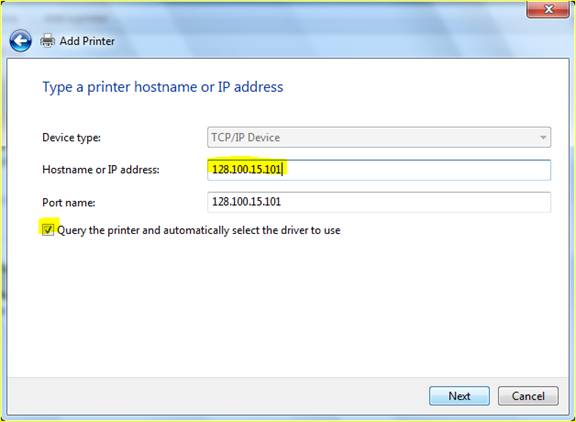
If you are on the same subnet as the printer, you can try "Query the
printer and automatically select the driver to use." In a lot of cases the
response to this query can't get back to you through our network due to routing
or firewall restrictions - don't worry; you can set this manually instead:
Most of our printers are HP brand; find that in the Manufacturer list on
the left:
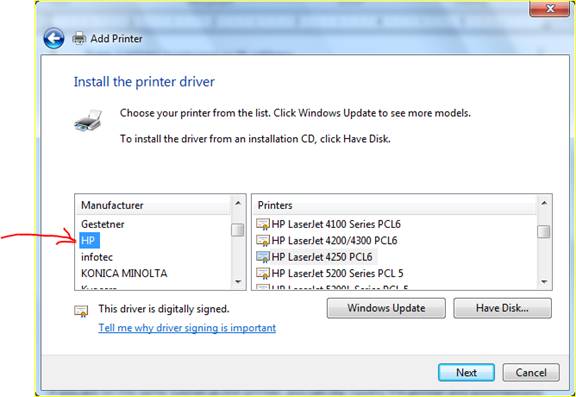
With your printer's brans selected, now select
the specific model of printer in the "printers" column on the right.
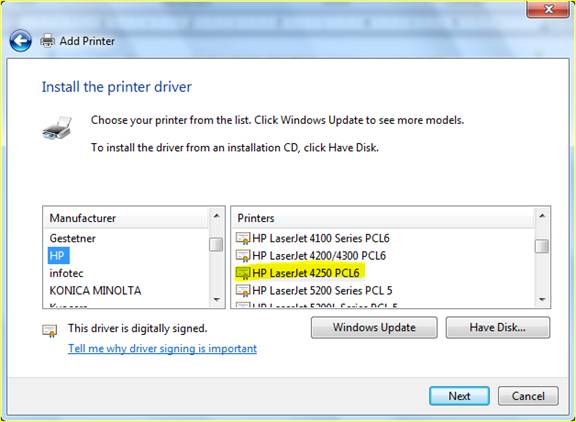
If your printer brand and model are not listed, you can download and unzip
the printer drivers from the manufacturer's website, then at this point click
"Have Disk" and navigate to the place where you saved the print
driver (you will find a .INF file for that printer model).
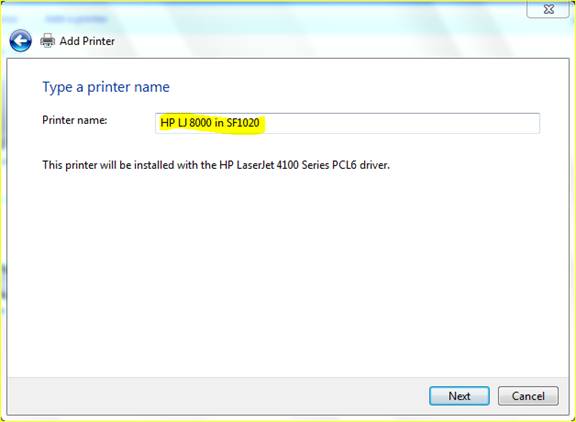
Enter your choice of name for this printer (I like to include the model and
room number, for clarity):
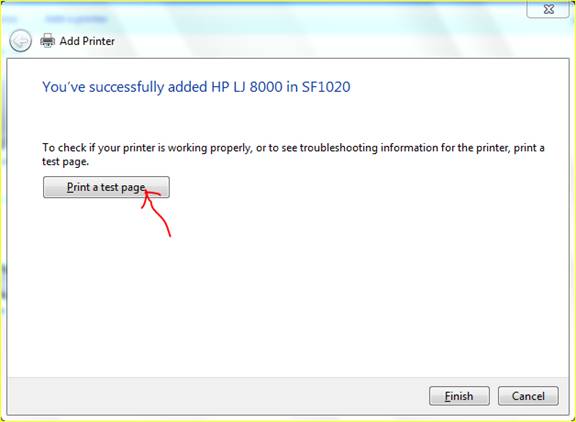
After Windows finishes copying the needed files, it will show this screen.
You can click "Print Test Page" to verify that the printing
connection is set up properly:
The Devices and Printers window will now show the printer you just added:

Right-click on the printer icon, and choose "Printer Properties:"
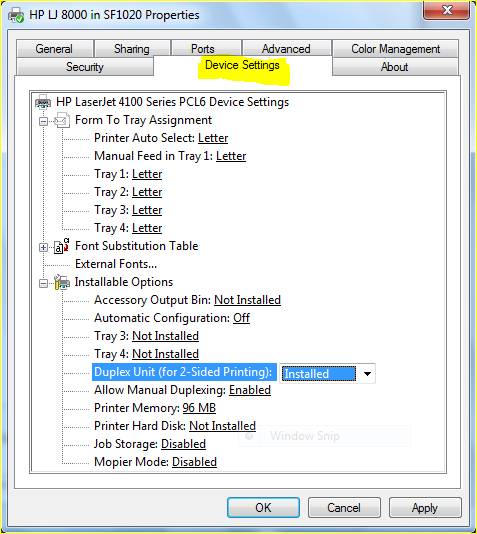
Click on the Device Settings tab. Now make sure the Installable Option for
"Duplex Unix (for 2-sided printing)" is set to "Installed"
- change it to "Installed" in the drop down menu if it says
"not installed". Click OK.
Back in the Printers windows, again right-click on the printer's icon, and
now choose "Printing Preferences." Click on the Finishing tab:
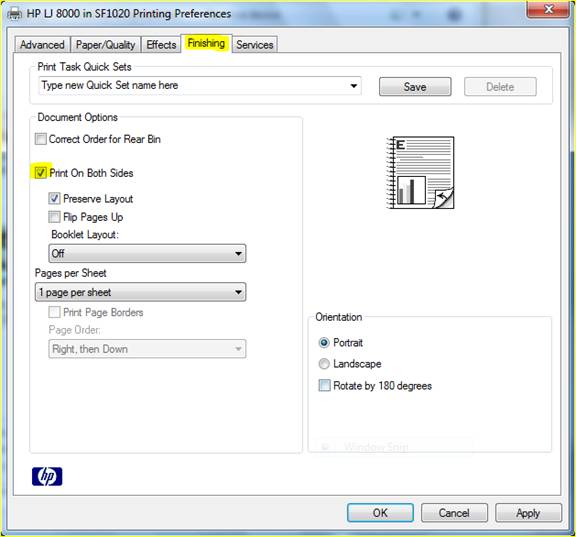
Check the box for "Print on both sides" and click OK to make this
your preferred mode.
If you have a print job that must be printed on only one side, you can
change this setting in the print setup of the individual print job.