Steps to set up a TCP printer in Windows 7
These steps are for adding a network printer that is *not* managed by a
Samba queue - such as "tier 2" or "tier 3" printers, or
certain shared admin printers.
Before you begin, find out:
·
The IP address of the printer
·
The brand and model number
If the printer is not inside the same ECE firewall as your computer, or to
print from wireless or from off campus, you must first connect to the ECE VPN
before adding the printer, and you’ll need to connect to the VPN any time you
need to print. There is one ECE firewall for Tier 1, two separate firewalls for
the Tier 2 subnets 128.100.23.0/24 and 128.100.241.0/24, and separate firewalls
for each Tier 3 user-managed subnet.
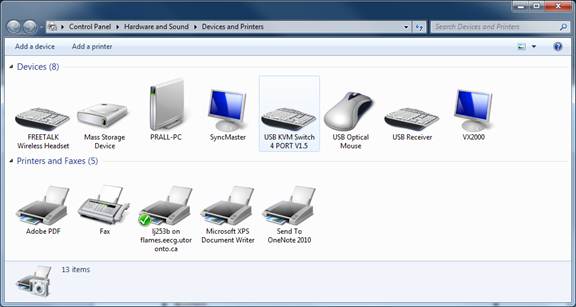
In the Start menu, choose "Devices and Printers":
Click on "Add a printer" at the top."
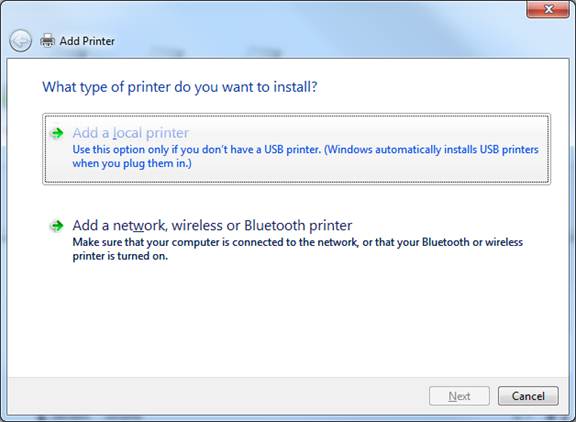
Click on "Add a local printer"
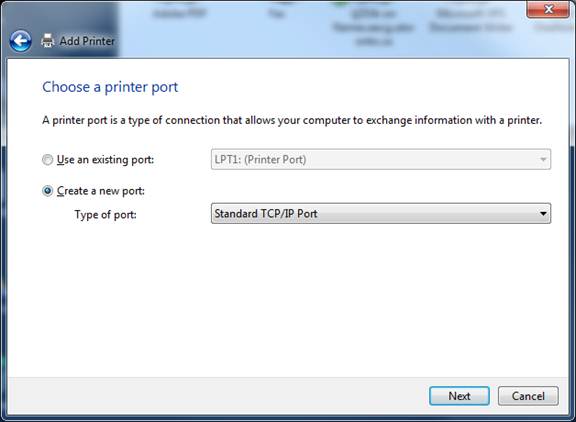
Click on "Create a new port" and set the "type of port"
drop-down to "Standard TCP/IP Port"
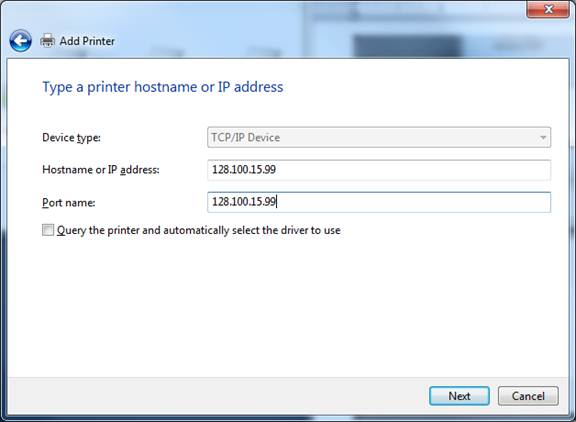
Type in the IP address of the printer you want to add. Make sure the option
to "Query the printer..." is UNchecked.
Click "Next"

In the left column, scroll down and click on "HP" (or the brand
of the printer if different). Then the right column lists all available drivers for the selected brand.
Scroll down to the model name of the printer you are adding - (if no exact
match is found, most HP printers will work fine with "HP Laserjet 4100 Series PCL6"; or if you downloaded a
print driver for this specific model, click "Have disk" and navigate
to the folder with that downloaded driver.) Click "Next"
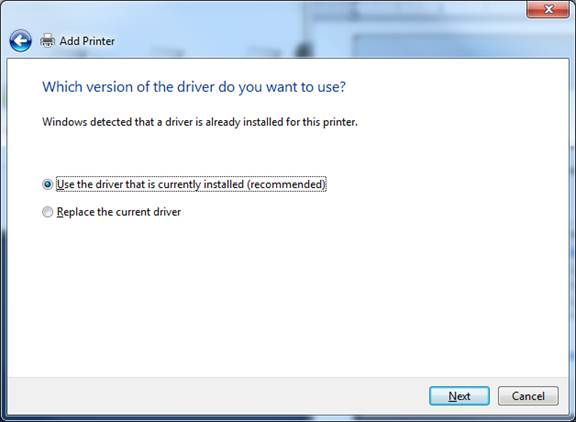
Check "Use the driver that is currently installed" then click
"Next"
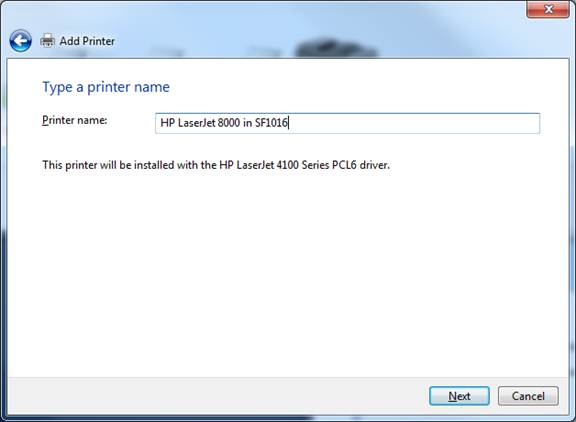
Type in a name to show yourself which printer this is. Click "Next."

Click "Print a test page" to confirm that this installation now
lets you print.
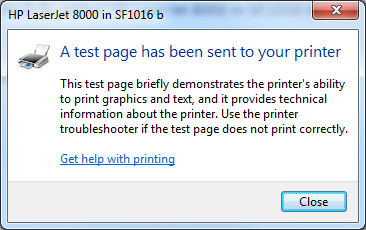
Click Close, then on the larger "Add printer ... successful"
window, click "Finish."