You can use the ECE VPN to connect to resources inside the department's firewall. You need your own VPN login; this is not the same as your UTORid nor your ECE linux login account. If you need a VPN login, please contact ECEHELP to request one, stating your name, status and supervisor.
Setting up Department's VPN connection under Windows 7
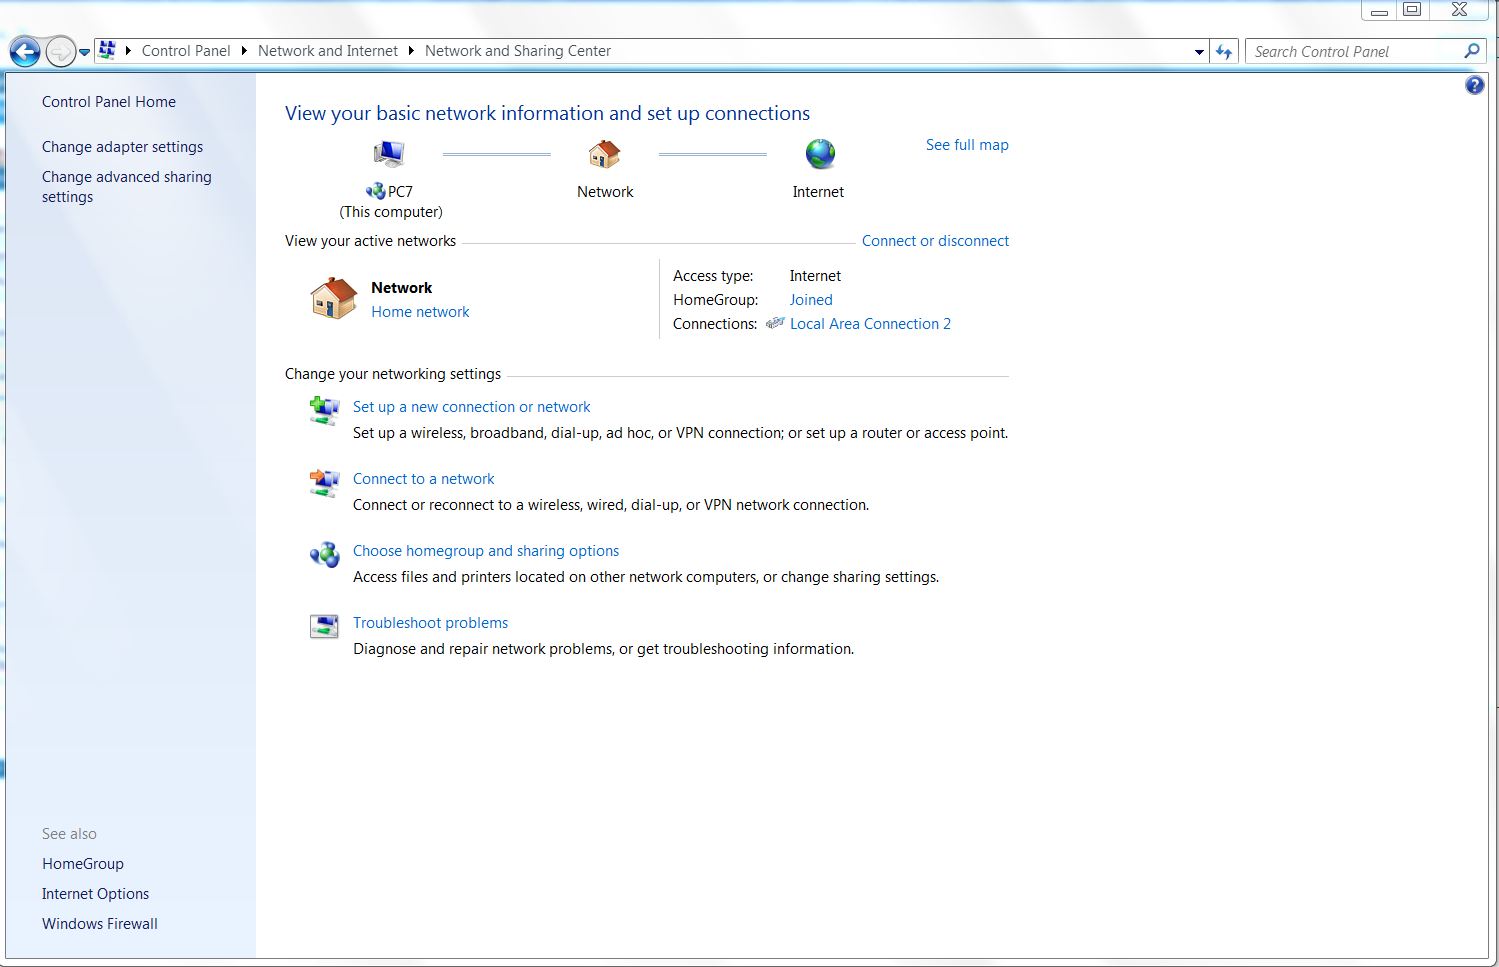
1. In "Control Panel", navigate to "Network and Internet", "Network and Sharing Center".
Select "Set up a new connection or network".
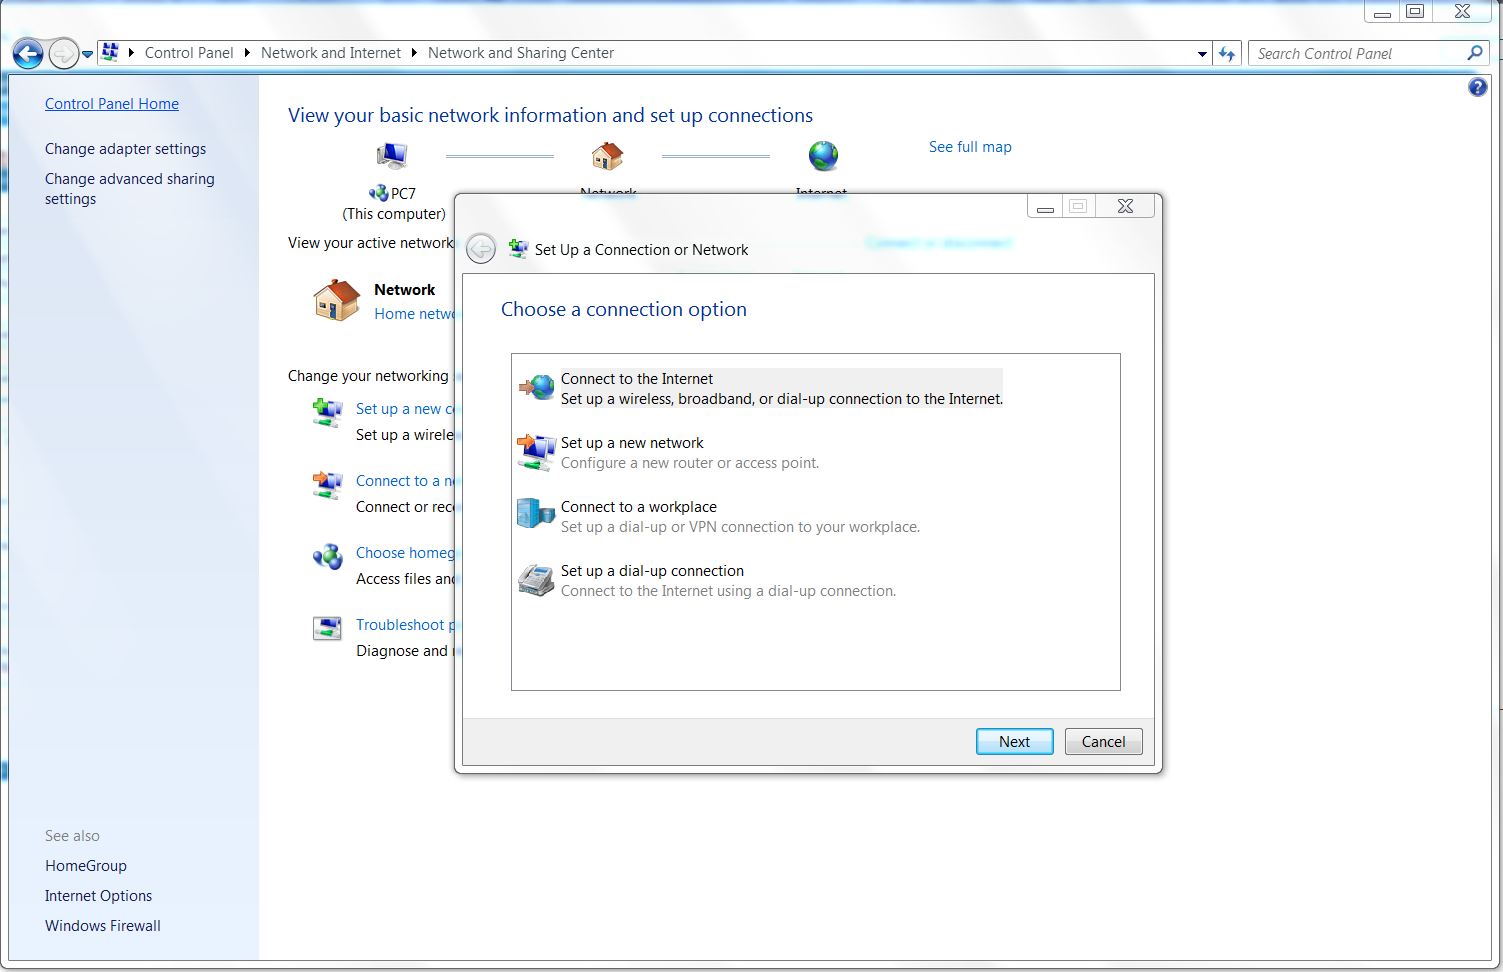
2. Select " Connect to a workplace".
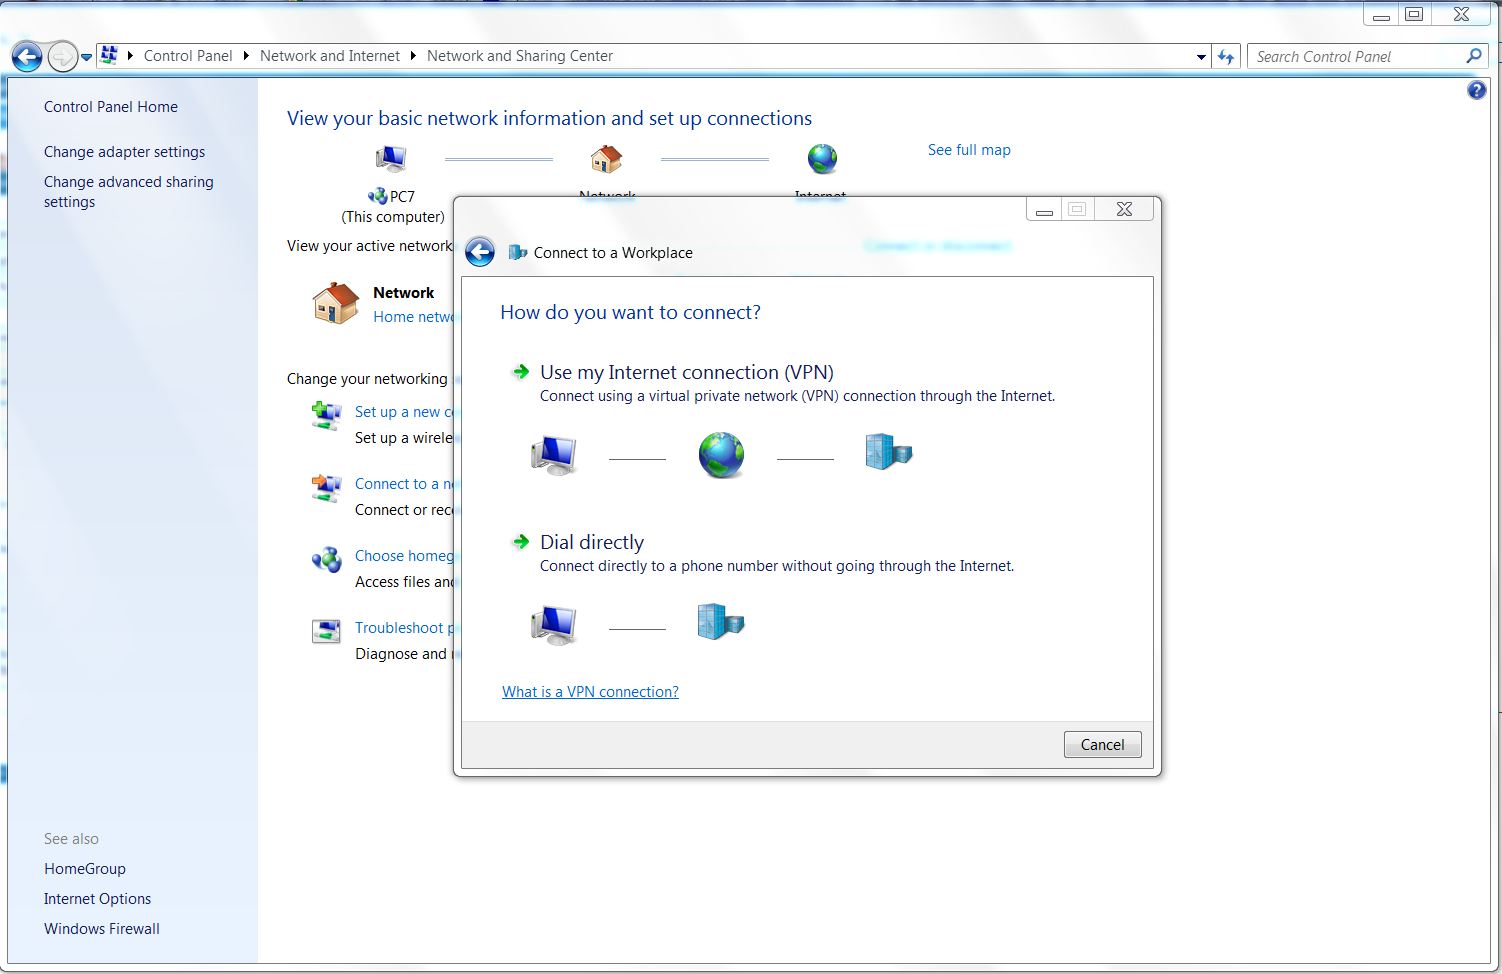
3. Select "Use my Internet connection (VPN)".
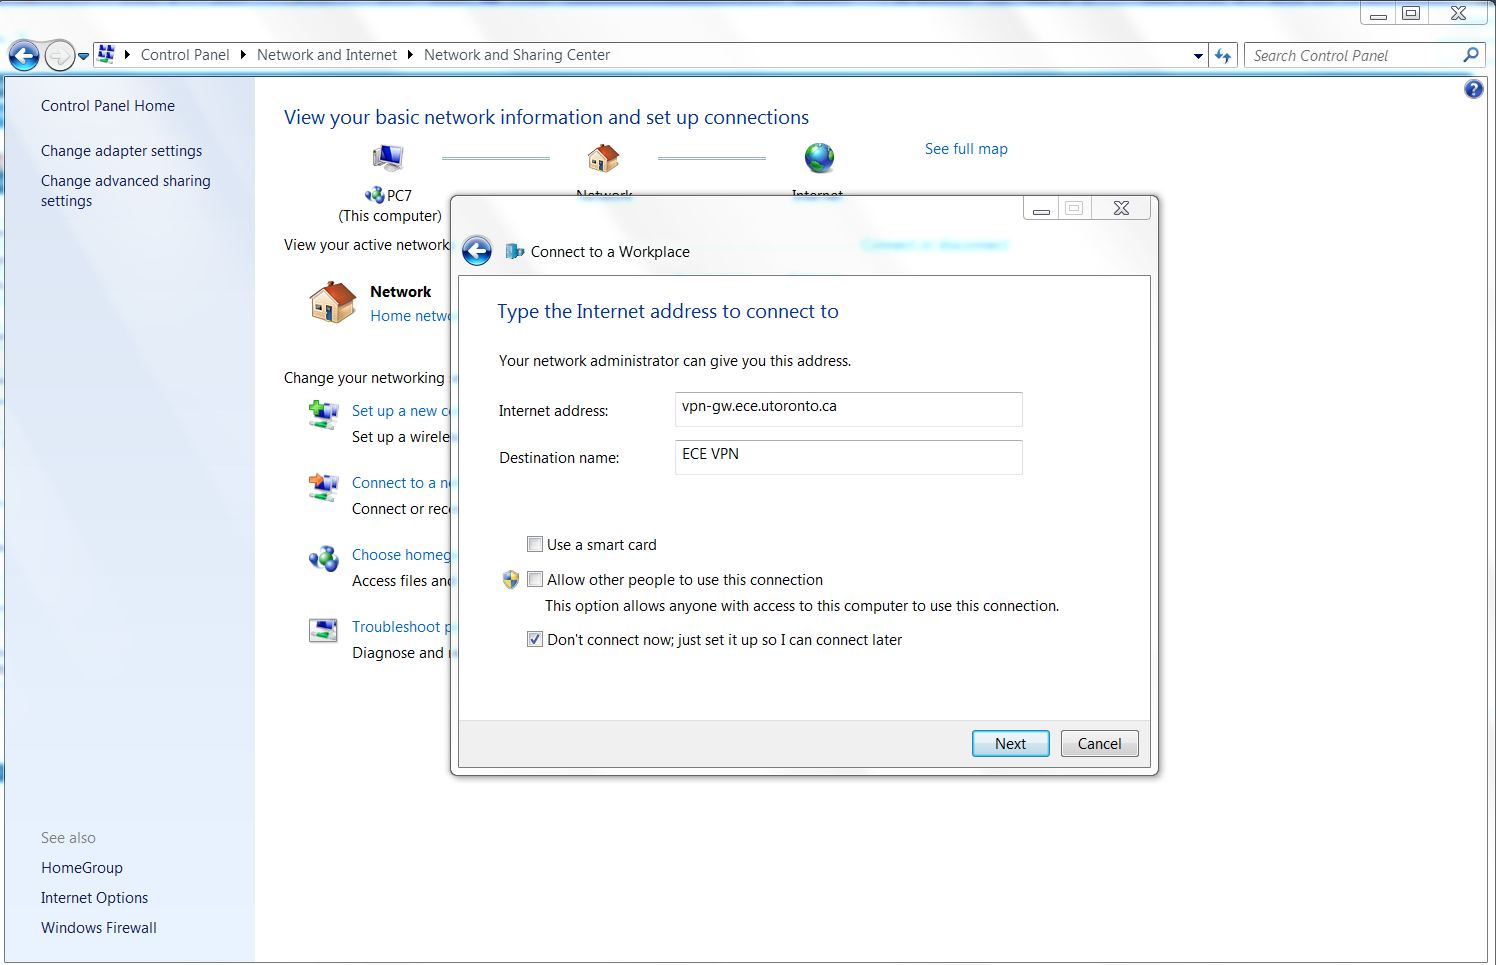
4. Fill in the following information:
Internet address: vpn-gw.ece.utoronto.ca
Destination name: ECE VPN
Please CHECK "Don't connect now, just set it up so I can connect later".
Click "Next" after filled in all the information.
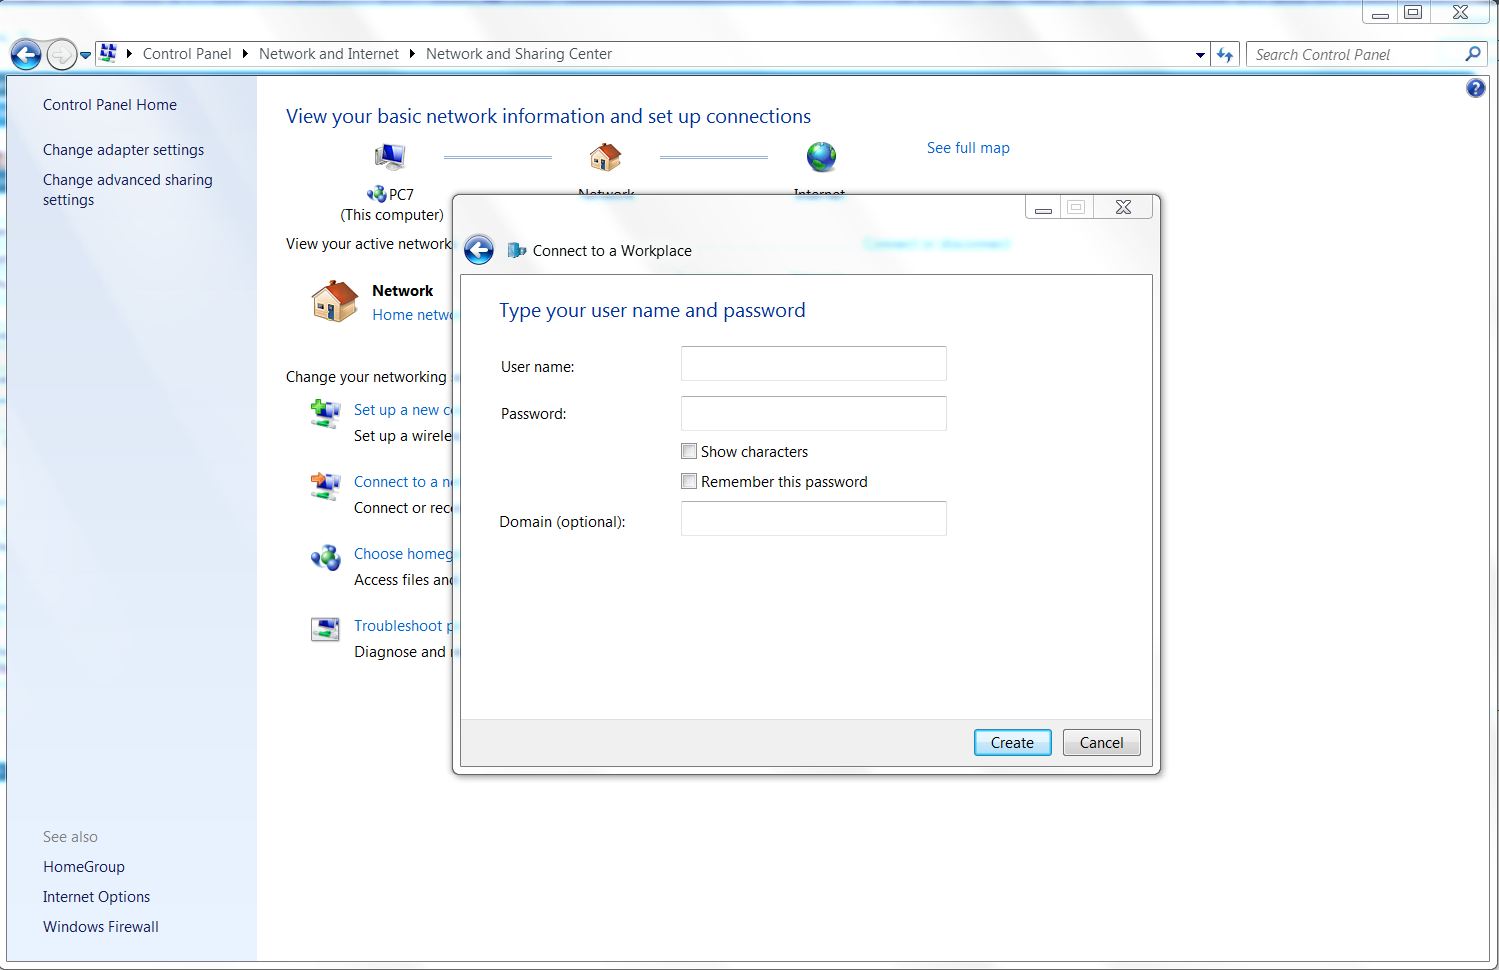
5. Fill in your ECE VPN credentials.
Click "Create" after filled in the credentials.
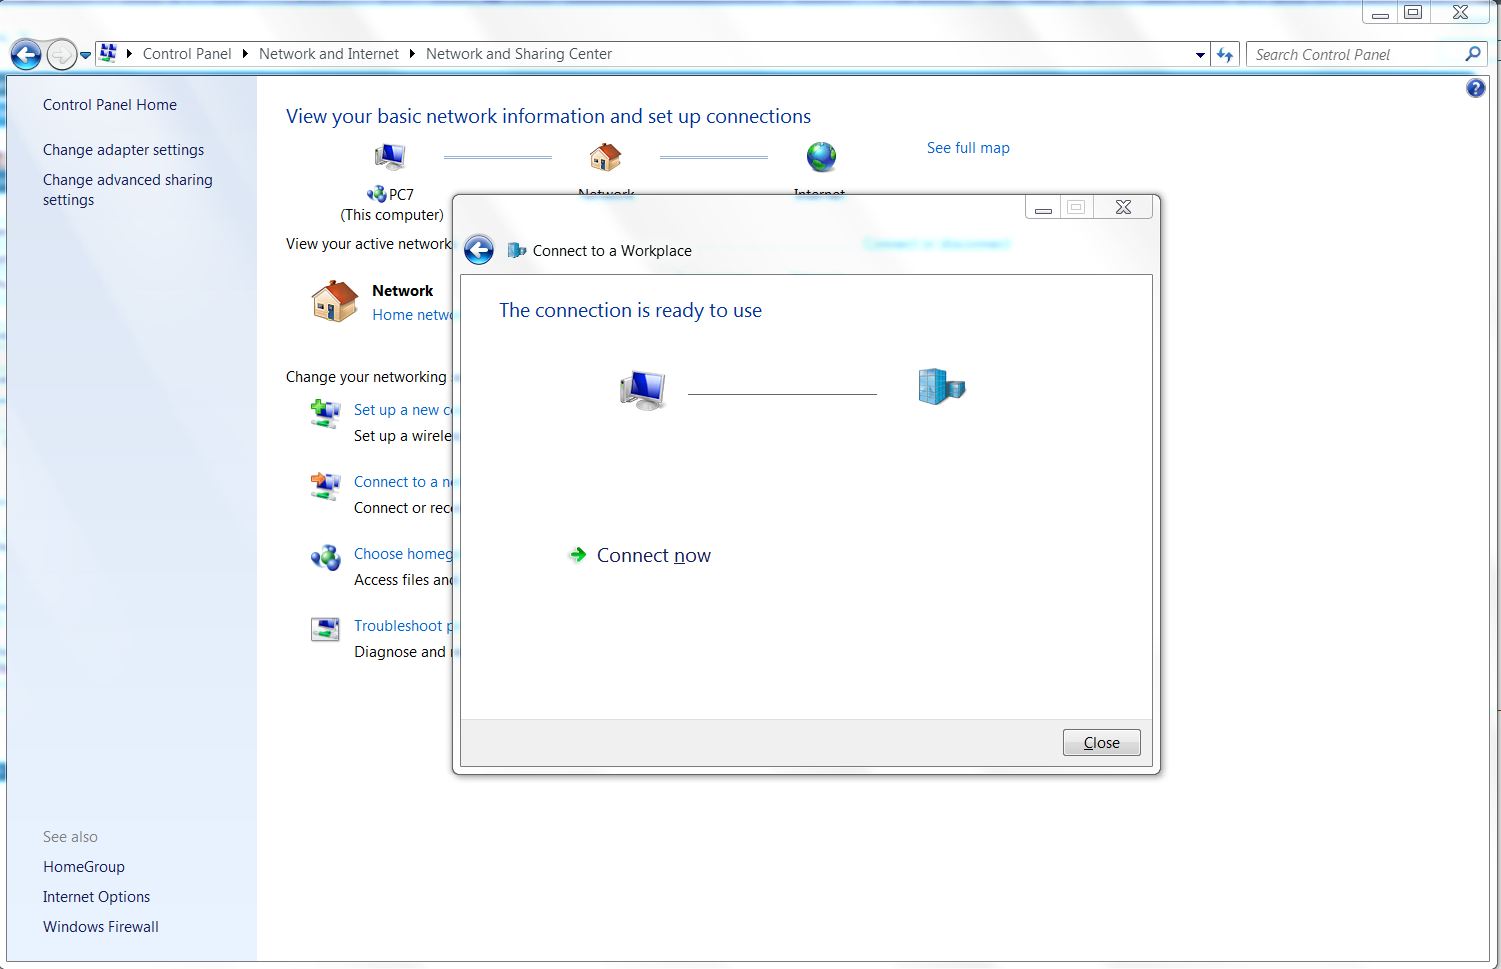
6. Click "Close" to finish first part of the setup.
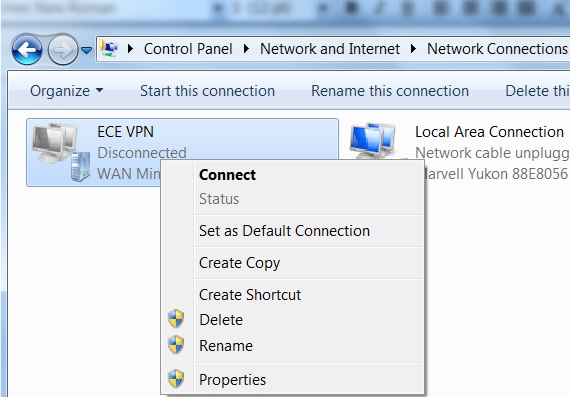
7. Go back to "Control Panel" ---> "Network and Internet" ---> "Network Connections".
Select "Properties"
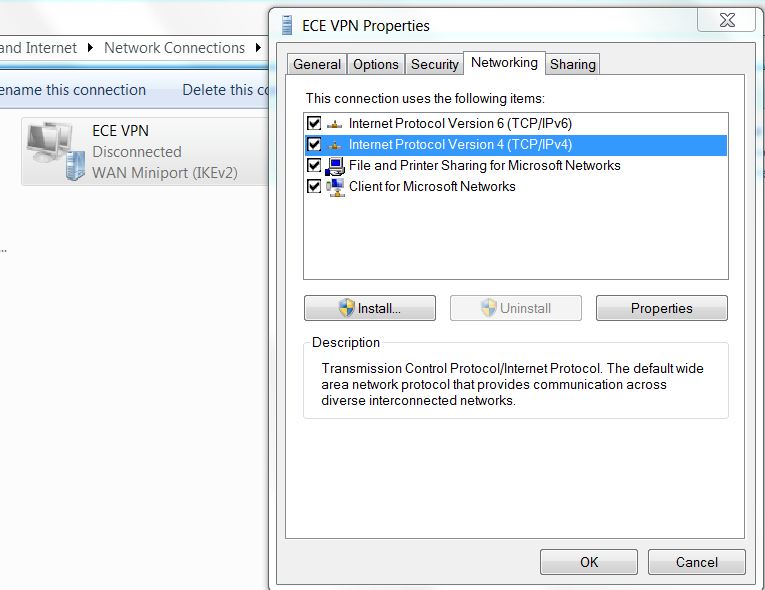
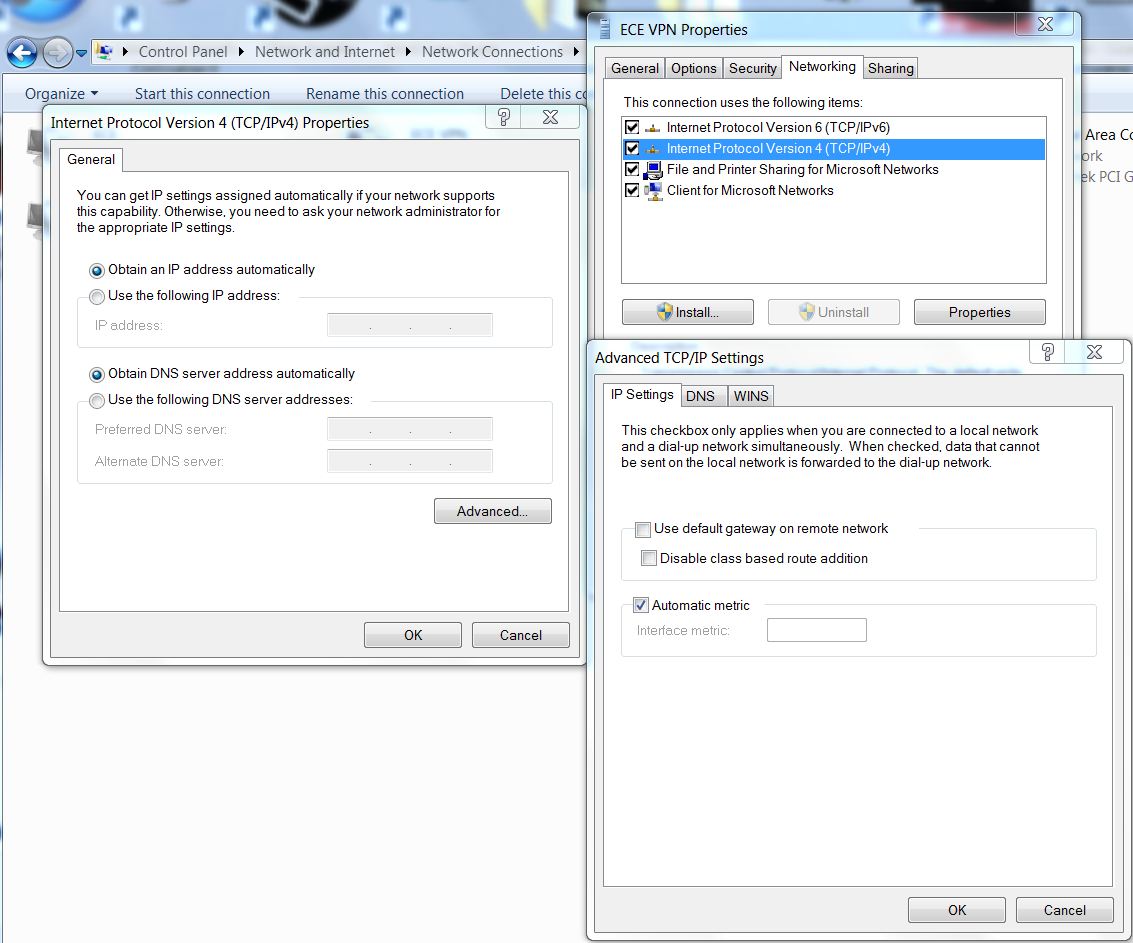
8. Select the tab "Networking".
Select "Internet Protocol Version 4 (TCP/IP4) and click on "Properties".
9. Select "Advanced" in the window "Internet Protocol Version 4 (TCP/IP4) and click on "Advanced".
Under the window "Advanced TCP/IP Settings", UNCHECK "Use default gateway on remote network".
Click "Ok" to close all the windows.
10. All setup is now finish.